01
Hull
The base mass: structure, armour, and the hardpoints that allow everything after it.
THE WORKSHOP
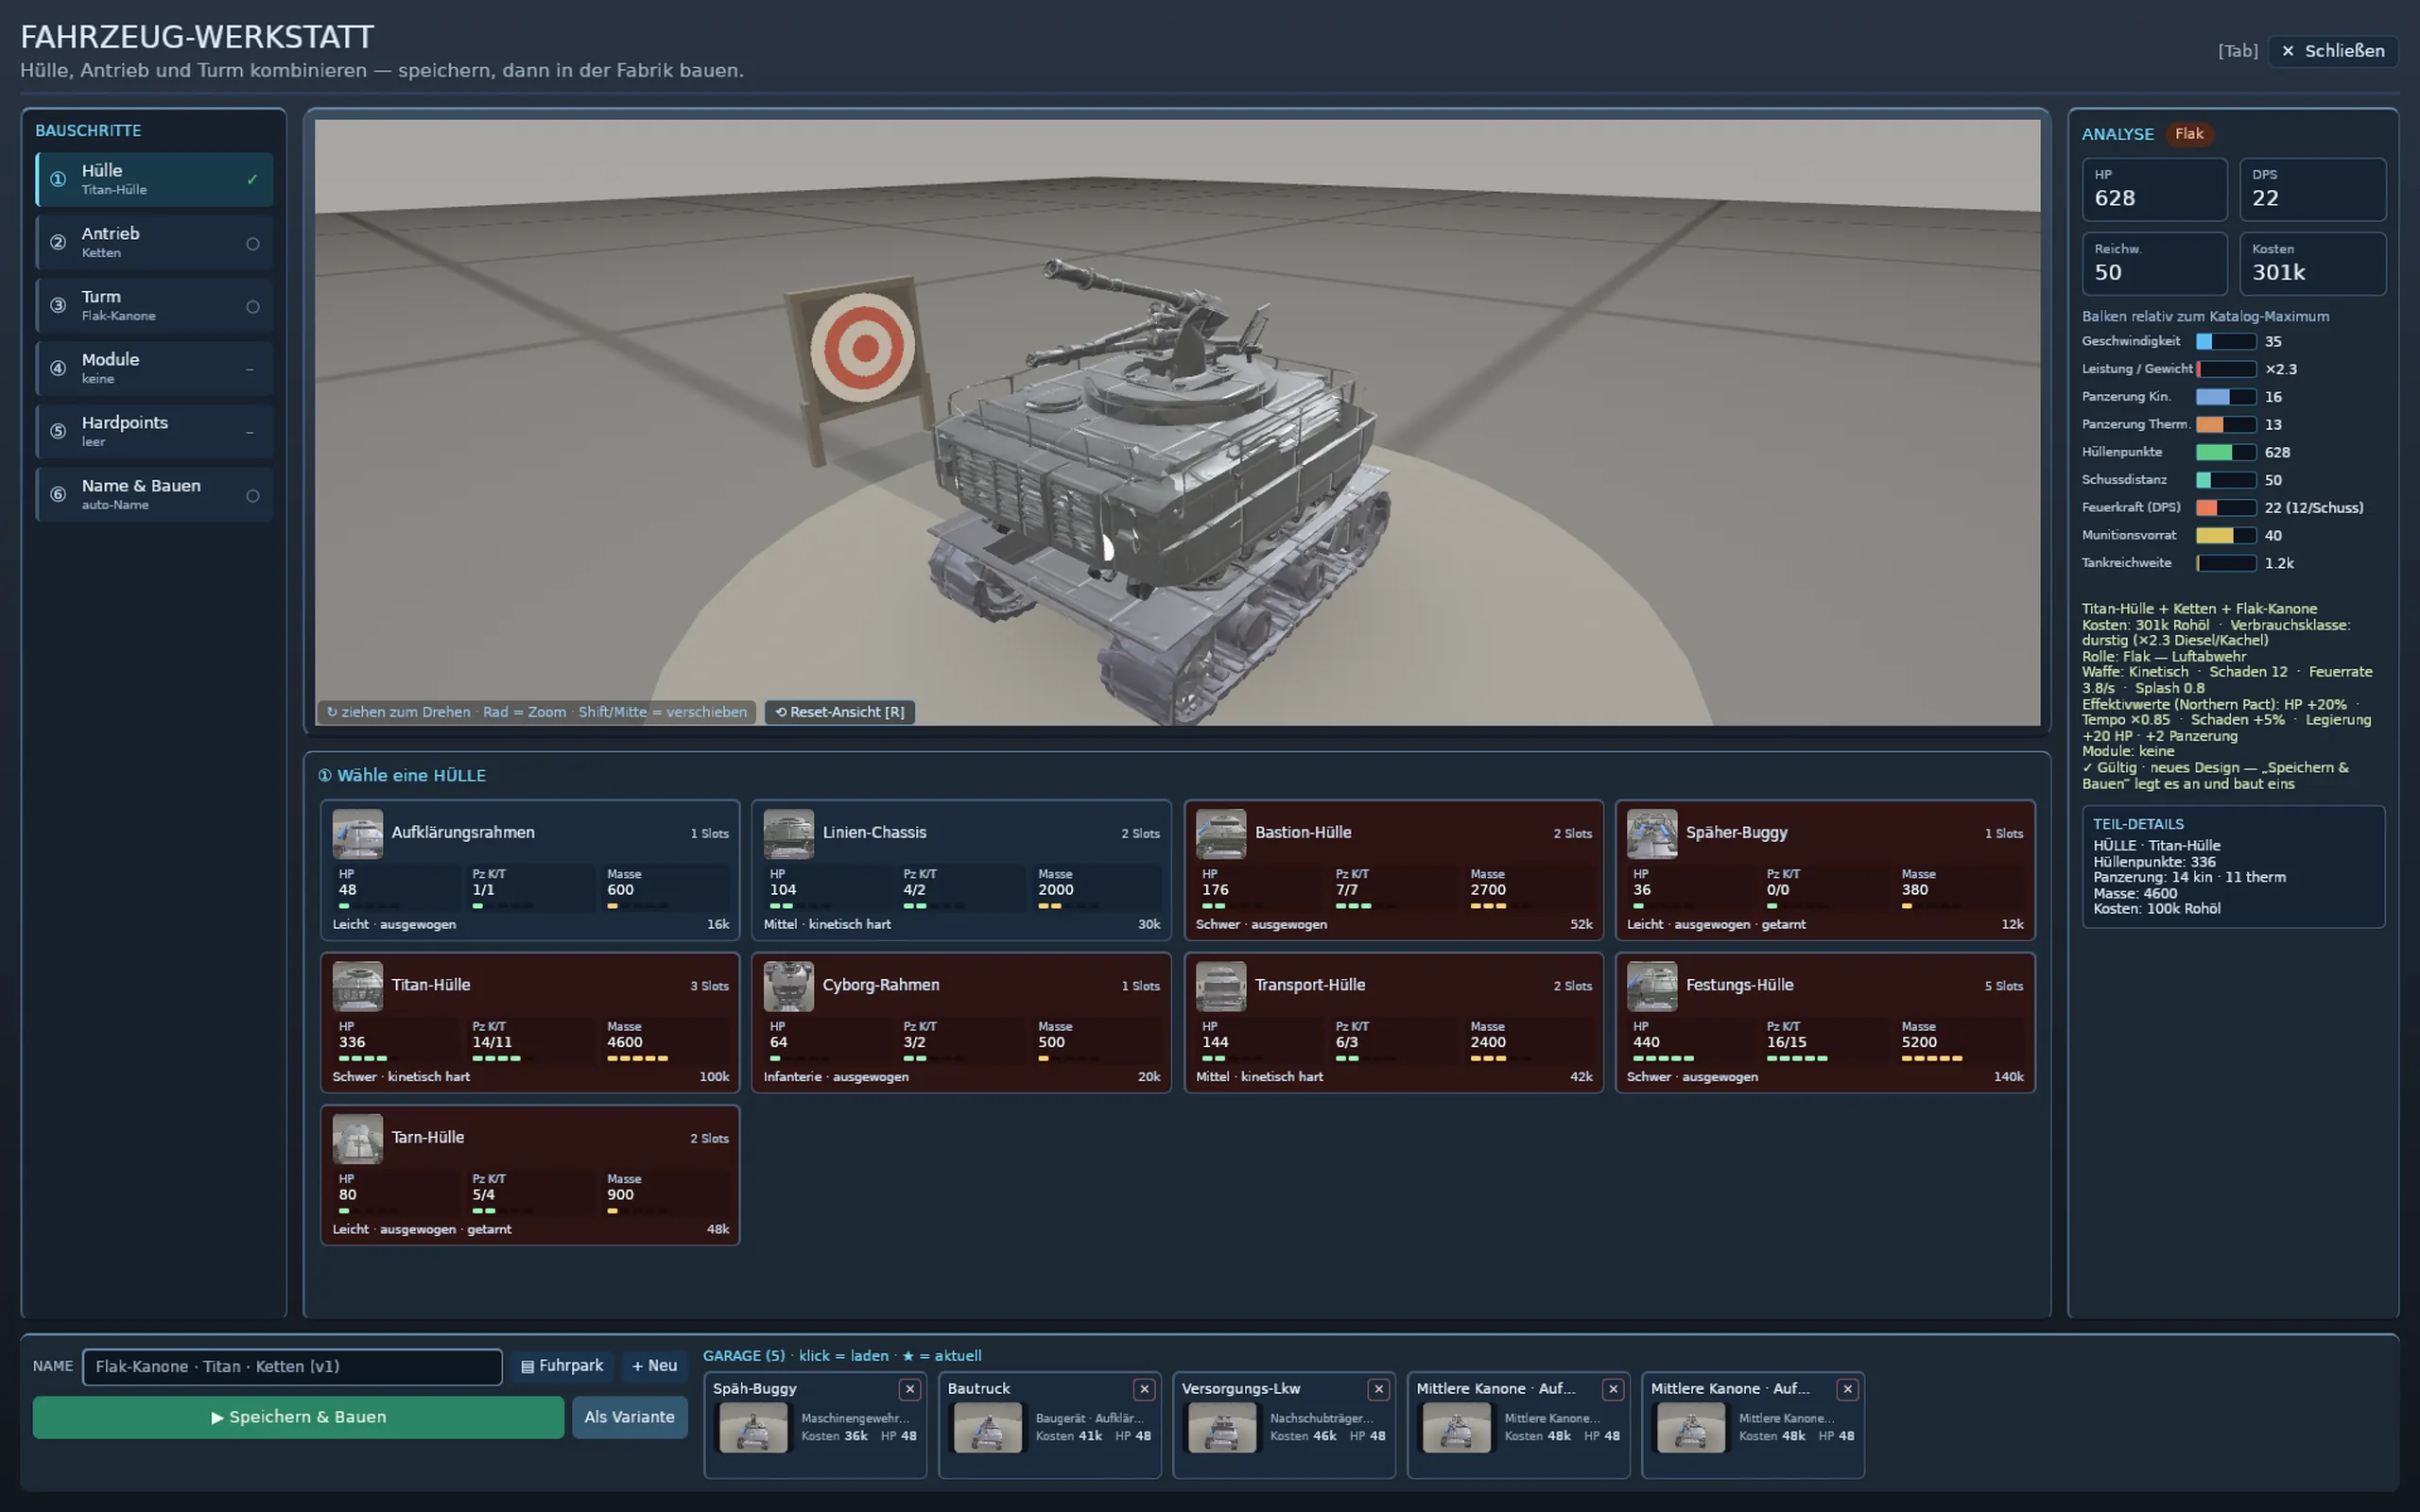
FERROCADE has no unit list to pick from. It has a workshop, where you fit a hull, a drive and a turret together and end up with something that did not exist before — carrying a weight, a fuel appetite and a price that follow from exactly those parts.
 FULL SIZE
01 · SIX STEPS
The designer walks you along a track instead of sitting you in front of a form. Every step changes the vehicle on the turntable at once, and the readout on the right keeps up.
01
The base mass: structure, armour, and the hardpoints that allow everything after it.
02
Wheels, tracks, hover or legs — speed against toughness against terrain.
03
The vehicle's job. 37 options, shelved by role exactly as in game.
04
Four add-ons that sharpen the role: radar, signature damping, fuel, night vision.
05
Armour, optics, concealment, magazine — whatever slots the hull offers.
06
A design gets a name and moves into the garage.
The analysis drawer keeps speed, power-to-weight, kinetic and thermal armour, structure, reach, firepower, magazine and fuel range on screen at all times — as bars against everything else you could have built. A heavy turret on a light hull is visible there, well before it stalls in the field.
02 · THREE DESIGNS
Scout, supply, advance — the three things FERROCADE turns on. Each of these is three parts from the catalogue below, and the bars are the actually composed values.
SCOUT
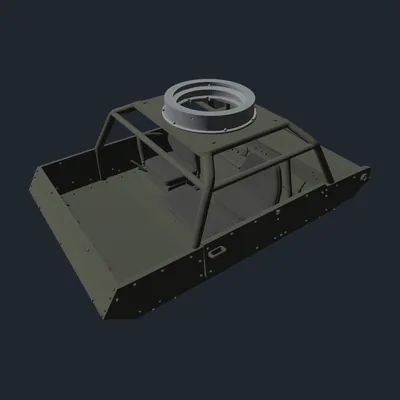 Scout Buggy
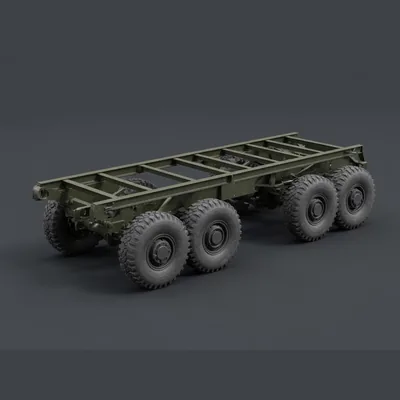 Fast Wheels
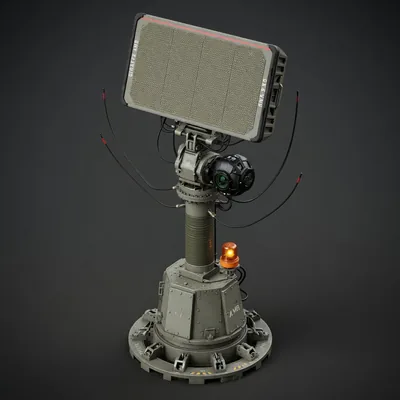 Sensor Array
Fast, quiet and practically defenceless. It does not shoot — it makes sure everything else knows what to shoot at. Without one, your artillery fires into fog.
SUPPLY
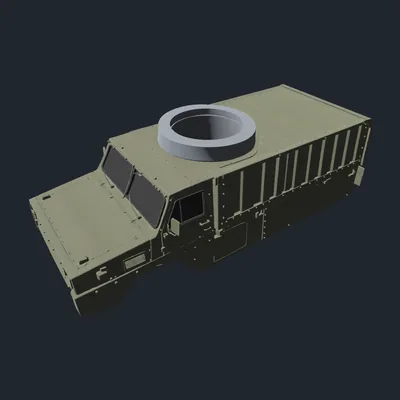 Transport HullWheels
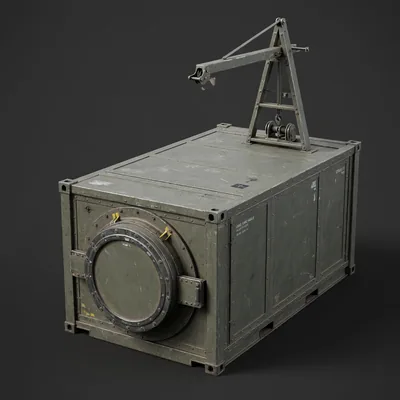 Supply Carrier
Defenceless as well, and still the vehicle that decides the advance. It carries diesel and ammunition to the one place both run out: the front.
ADVANCE
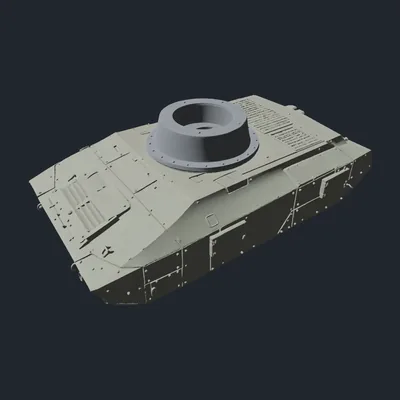 Bastion Hull
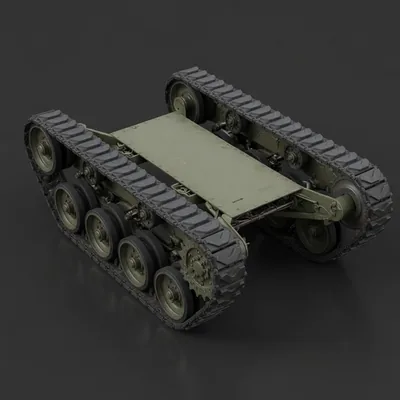 Heavy Tracks
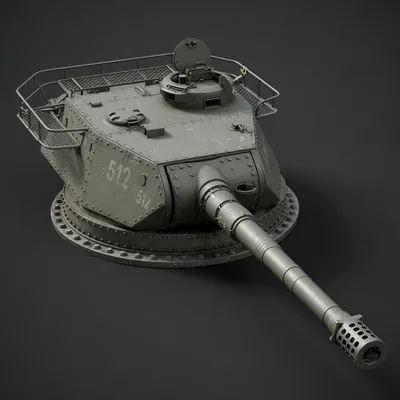 Heavy Cannon
Heavily armoured, slow, expensive — and for exactly that reason dependent on a supply line that holds. It breaks the line the first two found.
03 · HULLS
The hull decides how much a vehicle absorbs, how heavy it is — and, through its hardpoints, how much room you have left afterwards.
Design references from the workshop folder — concept images, not game graphics. For what the parts look like in a fight, see the shots on the front page.
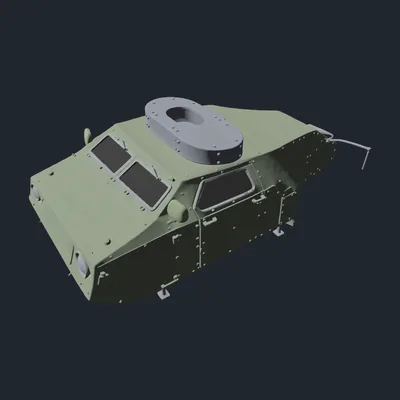
The cheapest way in: thinly armoured, light, with exactly one slot for optics or concealment
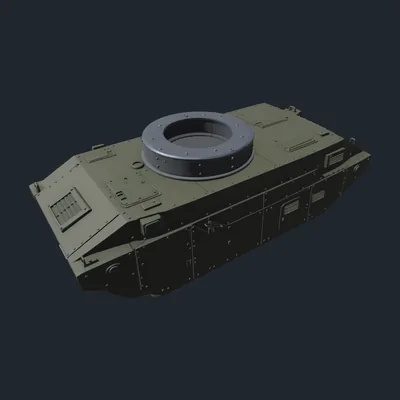
The workhorse — enough armour to stay, plus one armour and one utility slot
Evenly heavy against both kinetic and thermal fire; the first hull that survives a breakthrough
Almost no armour, but innately harder to spot and fast enough to get away
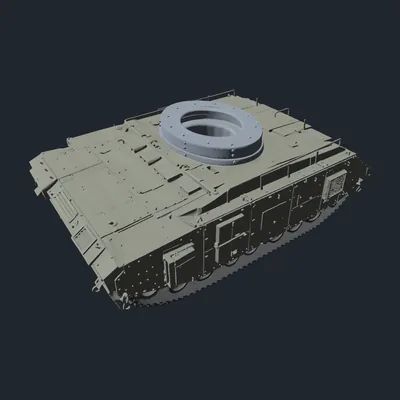
Three times a line hull’s structure and room for heavy kit — paid for in mass and crude
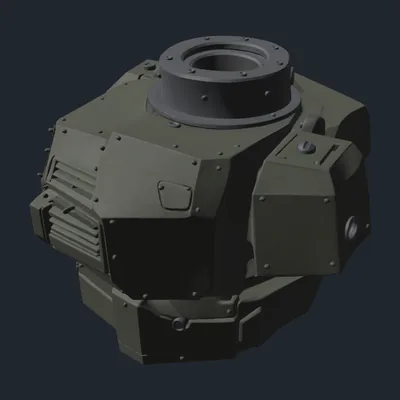
A compact, cheap frame for saturation: many of them cost less than one heavy vehicle
Built to carry rather than to fight — logistics slots, plenty of volume, no ambition at the front
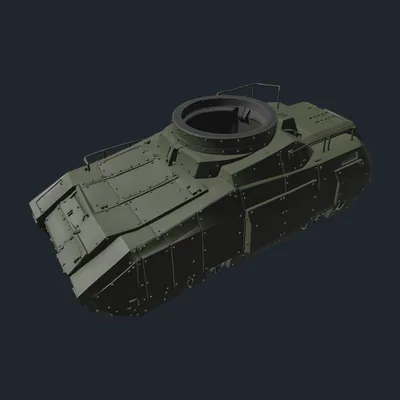
The thickest hull in the game, with its own slot for a secondary weapon; expensive and slow
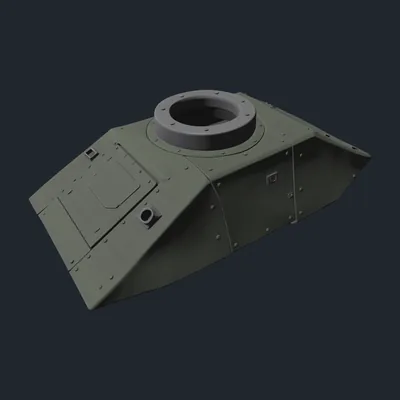
Light, expensive and hard to find — the hull you drive into the back of a supply line with
04 · DRIVES
Every drive is a trade: speed against toughness, and sometimes against being able to get there at all. Mass slows things down — a heavy hull on fast wheels does not go as fast as the wheels could.
The default: fast enough, cheap, available from the start — and soft the moment something hits
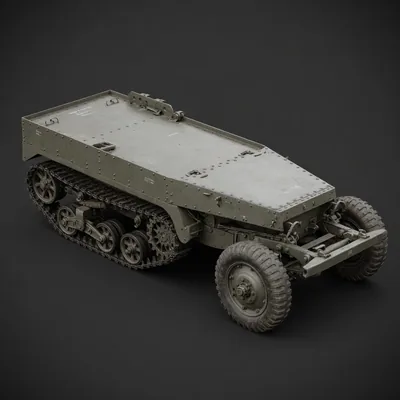
Wheels in front, tracks behind — a little slower than wheels, noticeably tougher
The compromise most fighting vehicles run: slow, robust, dependable off-road
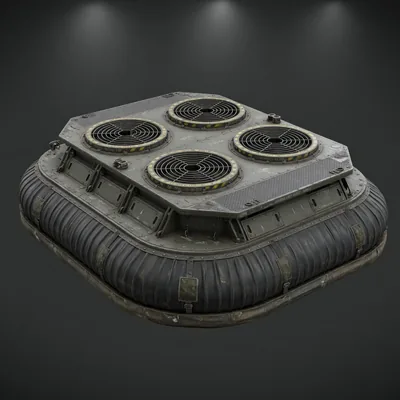
Nearly as fast as wheels, and the only light drive that crosses open water
The toughest running gear in the game, and the slowest — for hulls that were never going to dodge
Markedly faster than standard wheels and thinner still — scouting and raids
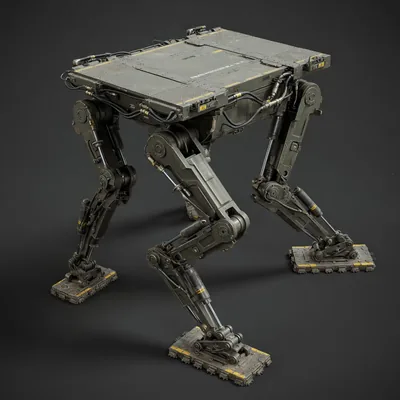
Legs get where tracks bog down; tougher than wheels, slower than tracks
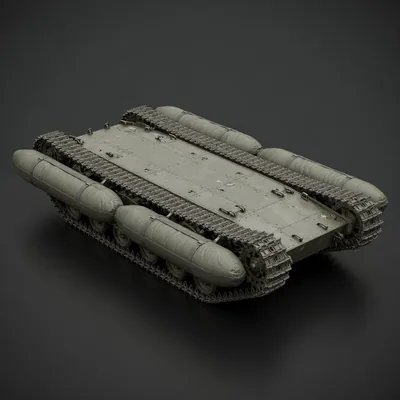
Tracks that swim — quicker than heavy tracks, and rivers stop being borders
The fastest ground gear, with the thinnest structure in the game: everything staked on speed
Not running gear but flight — ignores terrain entirely and lands on a rearm pad to refuel
05 · TURRETS
37 turrets, grouped the way the designer's role tabs group them. Not all of them shoot: a supply carrier, a construction rig or an ELINT receiver take the same slot a cannon would — and often decide a fight more clearly.
Design references from the workshop folder — concept images, not game graphics. For what the parts look like in a fight, see the shots on the front page.
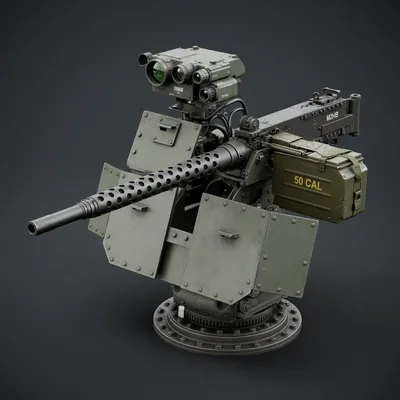
The baseline weapon: high rate of fire up close, effective against infantry and thin plate
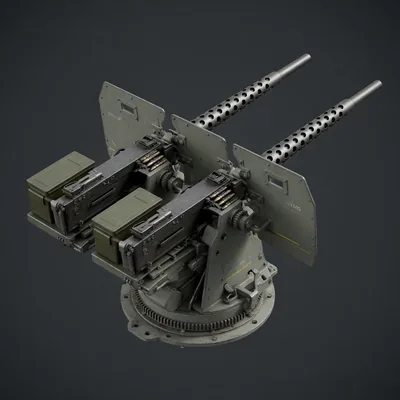
Two barrels, nearly double the rate: the answer to swarms of light vehicles
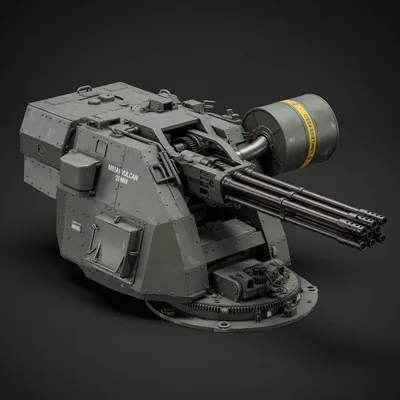
The highest rate of fire in the game; eats ammunition as fast as supply can bring it
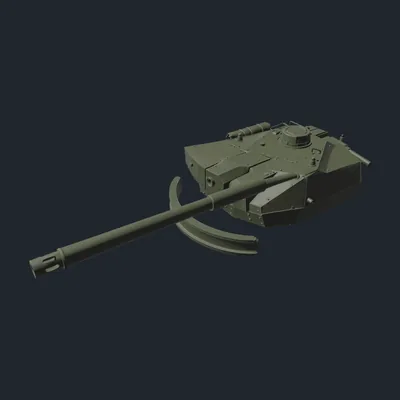
The all-rounder against vehicles — single hard hits instead of a burst
Bigger calibre, longer arm, heavier supply — the mid-game breakthrough turret
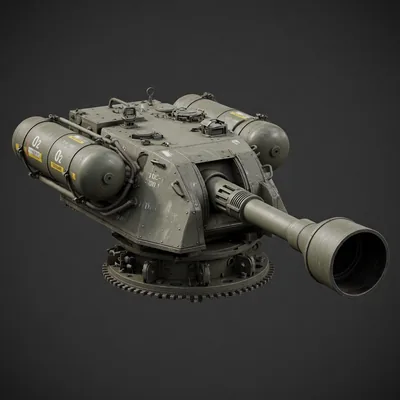
Overpressure instead of impact — largely ignores kinetic armour and works over a small radius
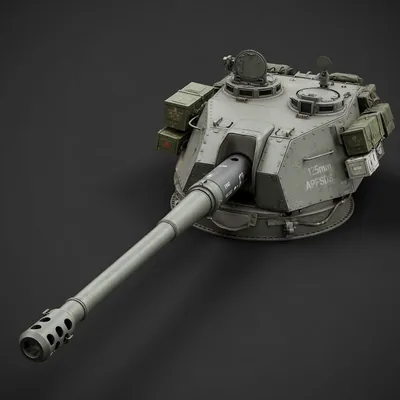
The pure kinetic penetrator: one very hard hit at long range, slow to reload
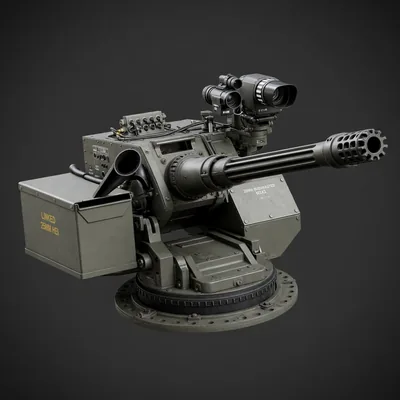
Rapid fire against light armour: barely dearer than a machine gun, far more penetrating
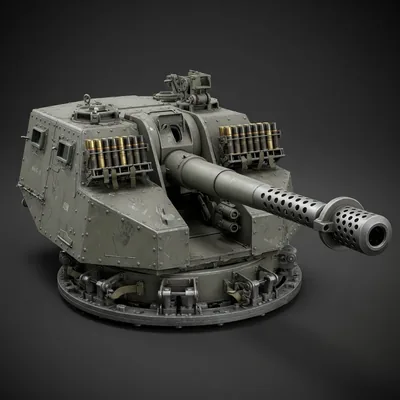
A bigger autocannon with a little fragmentation — the answer to mixed formations
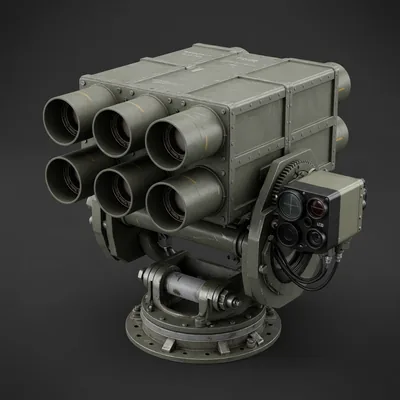
Shaped charge against armour: eats thick plate, wasted on soft targets
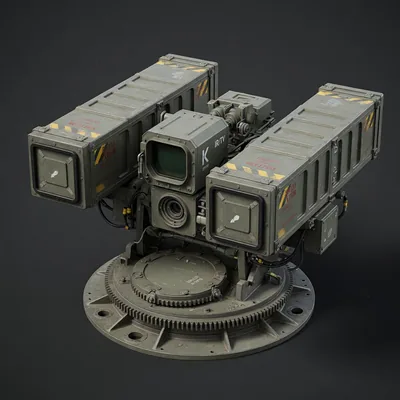
Heavy guided missiles against the thickest hulls, with a little effect around the impact
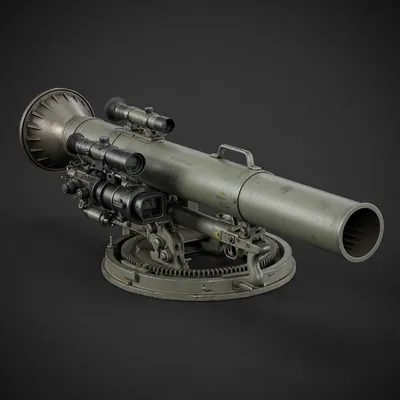
A recoilless tube fired from a set-up position: cheap against tanks, helpless against speed
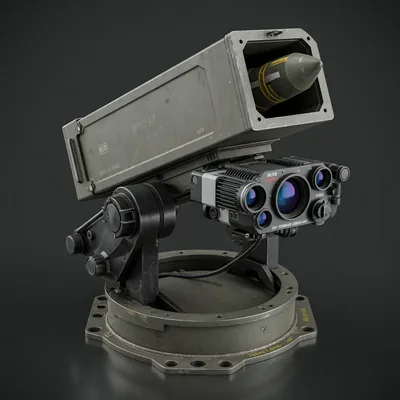
Guided anti-tank with more reach than the heavy variant — dearer, more precise
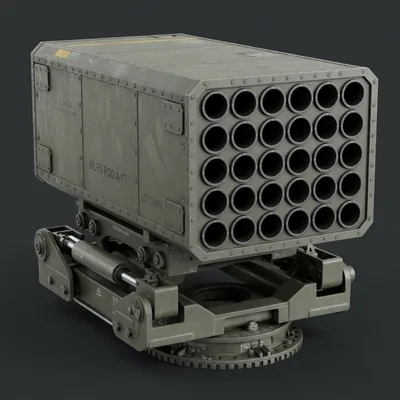
Guided rockets with a blast radius at medium range — expensive per shot, heavy on supply
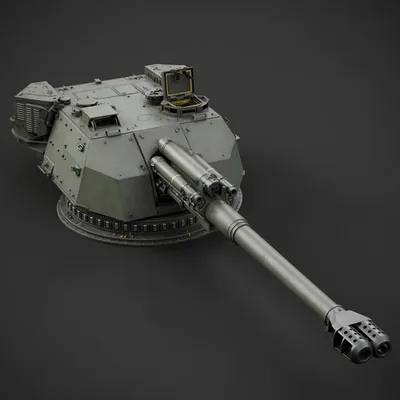
The first real indirect gun: enormous reach, but it has to stop and set up first
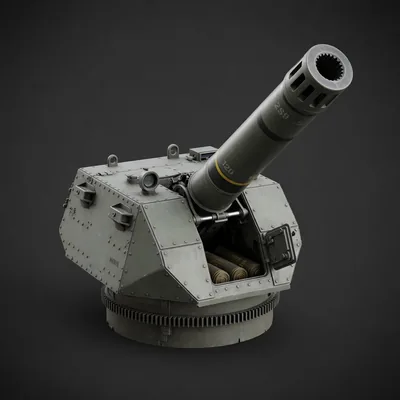
High-angle fire with a wide blast that softens a position before anyone drives into it
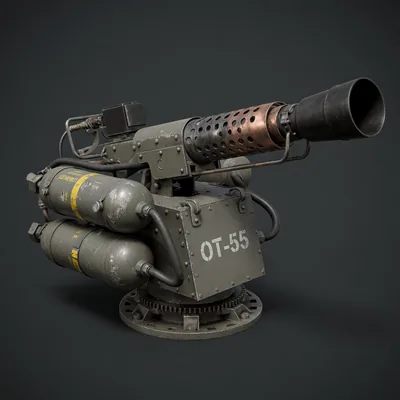
Incendiary over an area — devastating against infantry and positions, blunt against armour
Salvo fire at long range with a wide blast; needs setup time and a target from somebody else
A towed gun with long reach; it takes a while to be ready to fire, and longer to be gone
The cheap way into indirect fire — short setup, small blast, affordable supply
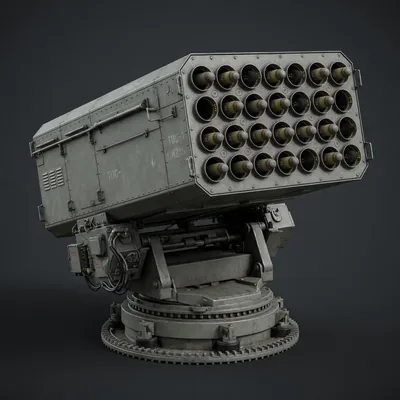
A whole tube pack at once: the widest area in the game, with the setup time to match
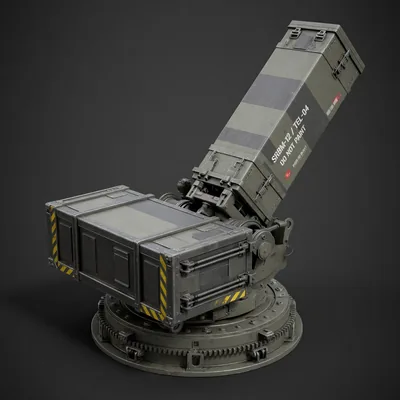
The longest-reaching weapon there is — it reaches targets your recon still has to find
A thermobaric rocket at medium range: a wide area without the vehicle having to stop
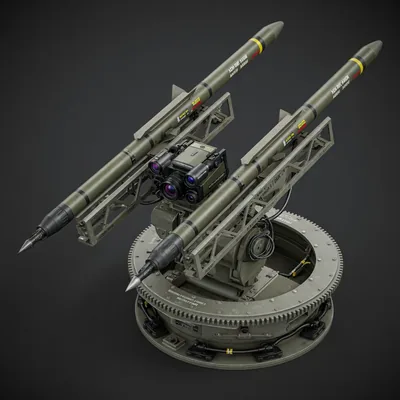
A missile that rides an enemy radar emission home — the answer to a sensor line
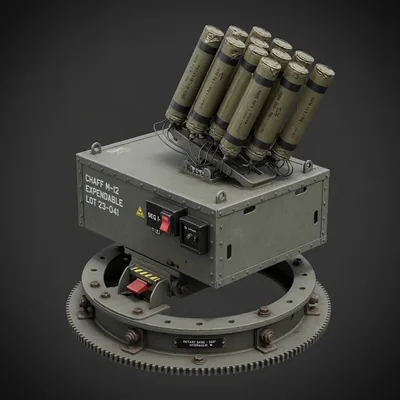
Fires decoys rather than explosives and draws defensive fire onto targets that are not there
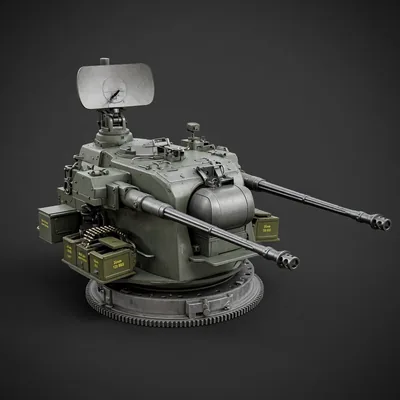
Fast fragmentation rounds against anything airborne — a stopgap at best on the ground
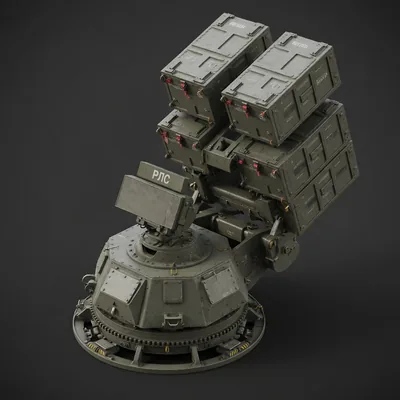
Guided missiles against air targets, with markedly more reach than a flak cannon
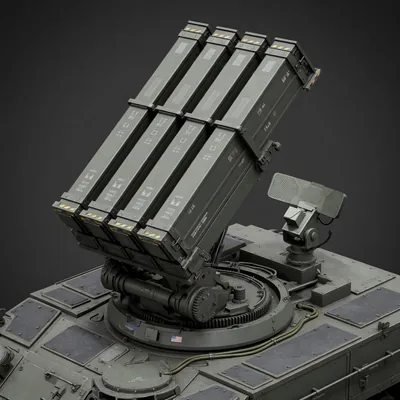
The air defence with the longest arm; it engages aircraft well before they see their target
Not a weapon but eyes: widens vision and makes targets visible to your own artillery
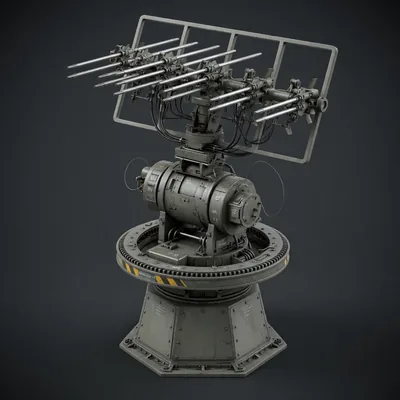
A purely passive receiver: it takes bearings on enemy emitters and stays invisible doing it
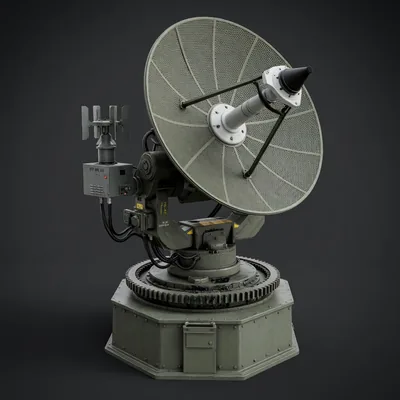
Fire control for a networked defence: it does not shoot, it directs the ones that do
Drives diesel and ammunition to the front — the vehicle that makes long advances possible at all
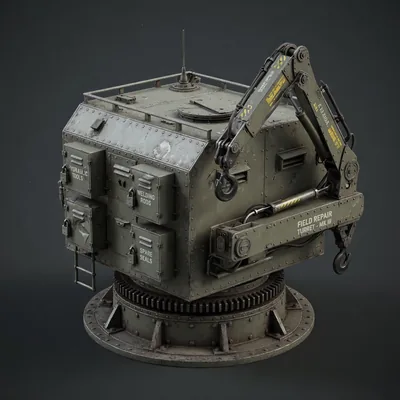
Puts damaged vehicles back together in the field instead of sending them all the way home
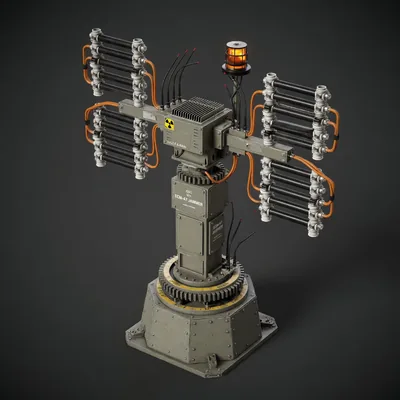
Not a weapon: lays a jamming bubble over the area and shortens enemy sensor reach
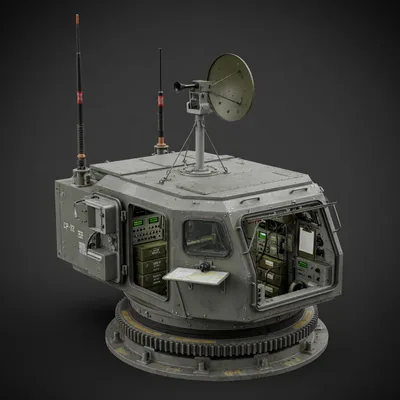
Turns a vehicle into a commander — attached units fight better and share its vision
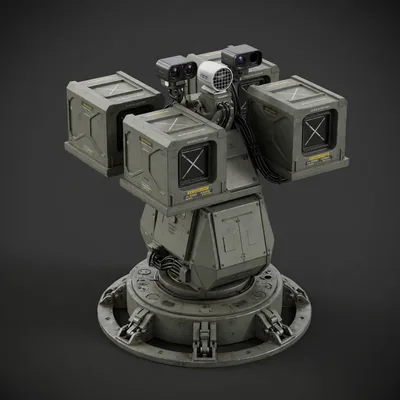
Close-in defence that intercepts incoming rounds before they reach your own armour
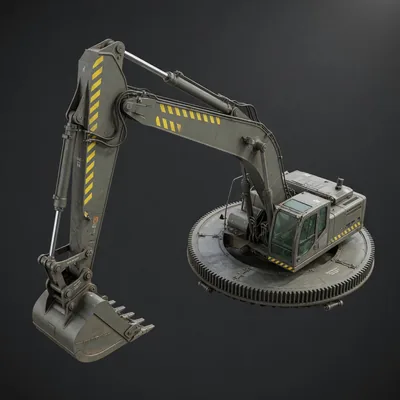
Builds, repairs and demolishes. Without a construction rig, nothing grows
06 · MODULES & HARDPOINTS
Modules are four add-ons available to any vehicle. Hardpoint components only fit slots of their own class, and how many a hull offers is listed with it above. Both cost money and weight — and weight costs speed and diesel.
FERROCADE is in private beta for macOS and Windows. Put your name down — when a seat opens up, we get in touch.